A simple import of content taken from a WordPress website and imported to a Node content type with PDF attachments and multiple Taxonomy Terms.
We need a custom content type and a Taxonomy term for this import.
The Taxonomy Term is simply called "Meeting Type" and will consist of: -
- Minutes
- Agendas
- Other documents
- Uncategorised
The custom content type has the following fields: -
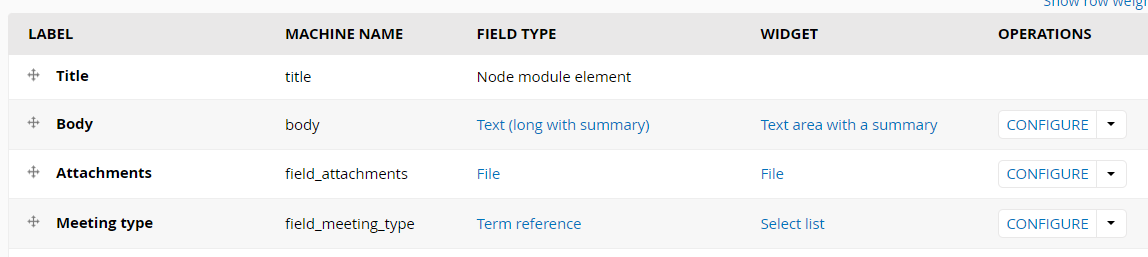
Our import file has the following fields.
- ID
- Title
- Attachment URL
- Categories
and the spreadsheet looks like this...
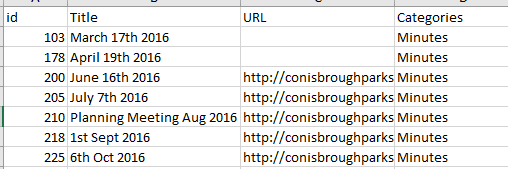
We may need to manipulate a few things to get it to work, the only thing that stands out as I'm working through it is the URL, we may need to change it to HTTPS
You will need to install both the Feeds module and the Feeds Tamper module.
If you don't know how to add a module visit this link to the official Backdrop CMS Module instructions.
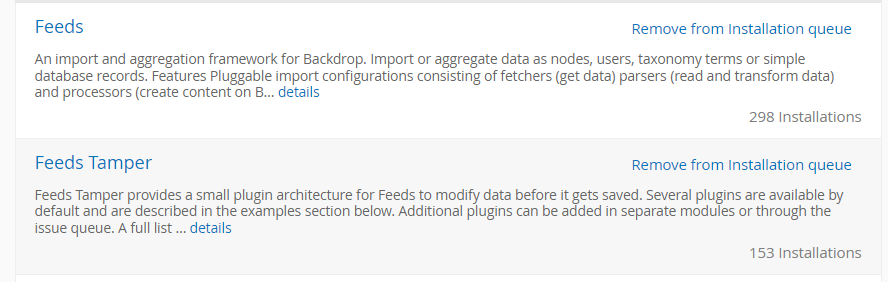
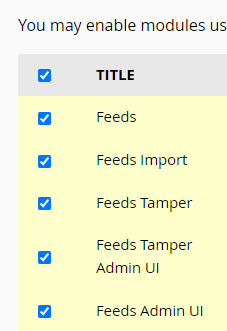
Once installed enable all of the options available.
So let's add a new Feeds Importer... That's the part which does the heavy lifting.
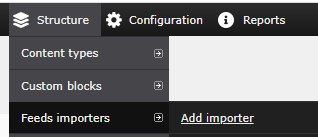
From the Admin bar, hover over Structure then Feeds importers and click on Add Importer (/admin/structure/feeds/create)
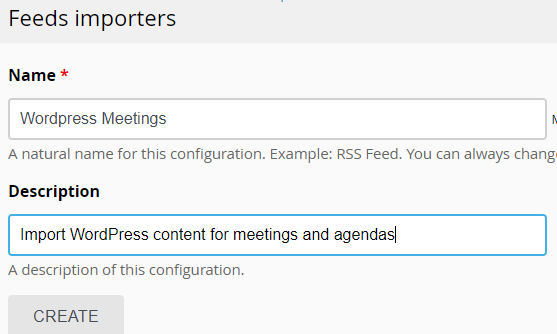
Let's give it a name... WordPress meetings and a description Import WordPress content for meetings and agendas and click Create
Our next screen is pretty complicated, and we won't go over all of the possible options in this tutorial.

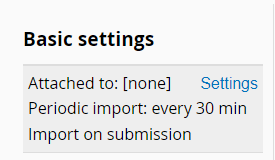
Let's start by clicking on the "Settings" option for "Attached to:"
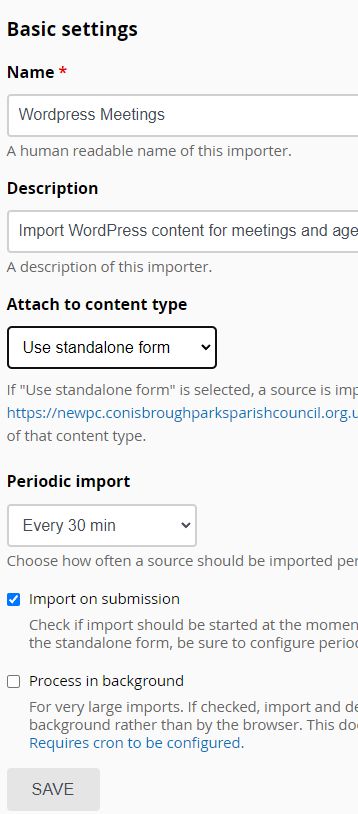
This is fairly simple and the help descriptions are good to get you going.
For most things, and especially one-offs I tend to set the "Attached to content type" rather than "Use standalone form".
And again, for one-off imports, I change "Periodic Imports" to "off" as I want to initiate the import and don't want to run it multiple times.
Click Save...
Let's configure the "Fetcher"... simply click on "Change"

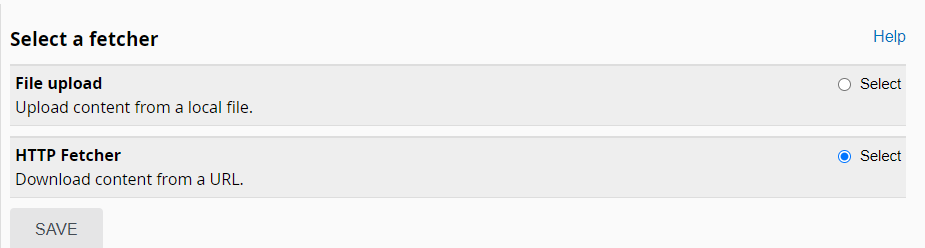
We are importing from a Tab delimited file so we need to choose "File upload" and click save.
The section under Fetcher now changes so we can set the file upload settings..
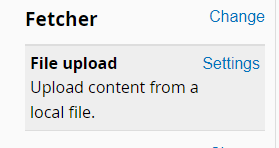
Click on "Settings"
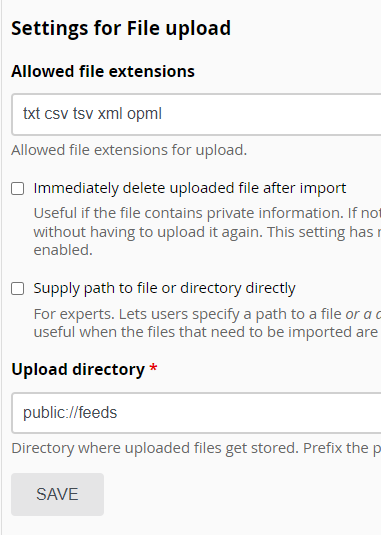
For simple imports, the above can be left as defaults.
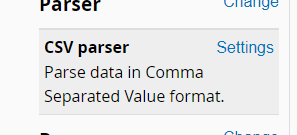
Let's move on to the "Parser" settings... Click "Change"

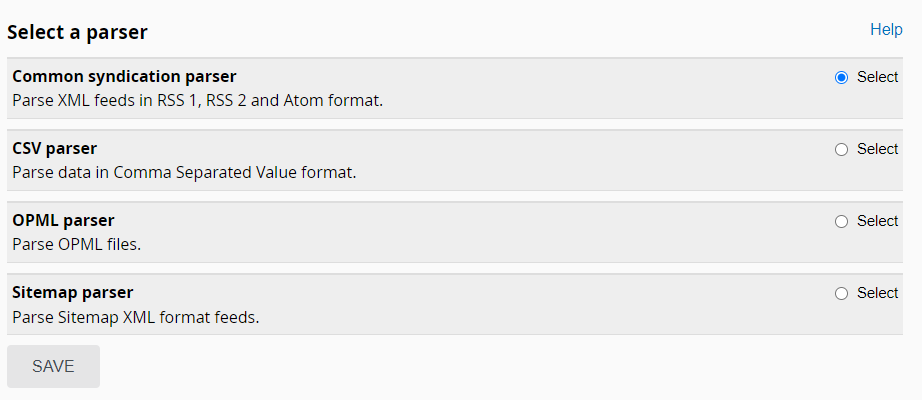
For our Import, we need to select the "CSV parser". Out of interest, CSV is the acronym for Commer Separated Values. But, we will be changing ours to Tab-separated, see below.
Choose CSV parser and click save.
The menu on the left now changes so that we can alter our CSV parser settings, so click on "Settings"
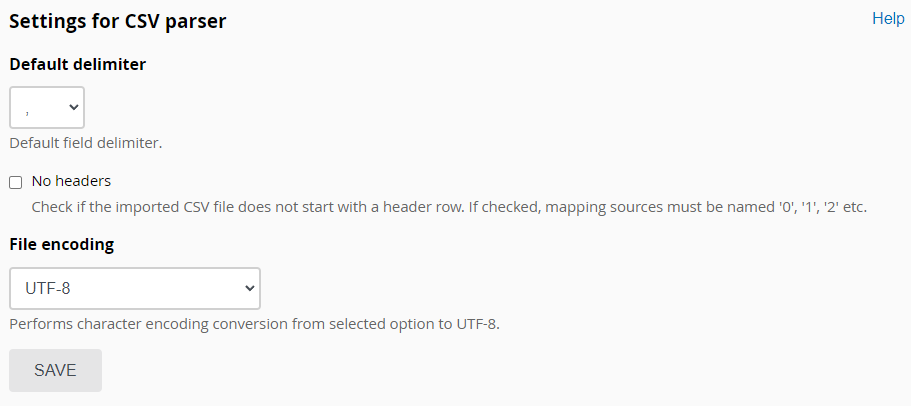
A few things to be aware of if you are importing from a CSV file...
For the "Default delimiter" If your content contains commas in any of the fields we are importing don't use commas, use tab... it's a bit more work at configuring the file, but it will save you lots of heartache and problems.
If your import file has headers, or names for the columns leave the "no headers" unchecked... If your import file doesn't have headers then the first row will not be imported.
For file encoding, I use ASCII.
Click save.
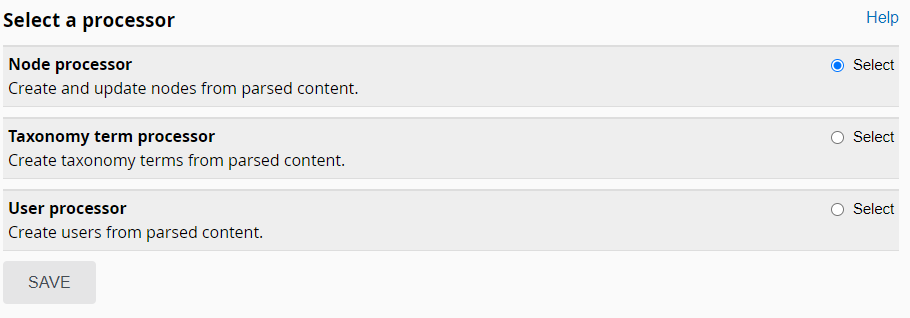
Let's look at the "Processor" next, and click on "Change"

We have three options, but we need "Node Processor". And these are the options, we don't need to change anything so we can move along to the next section.
Click on "Settings" for the Node processor

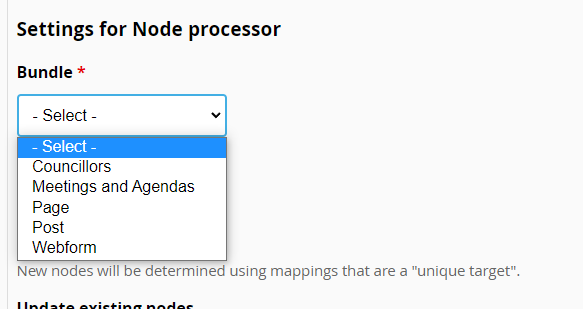
We need to select which content type our imported date will populate, for us, it's "Meetings and Agendas"
"Insert new nodes" does what it says on the tin... For most uses, leave as "Insert new nodes"

Update existing nodes... I normally change this to "update existing nodes" and the reason for this is that when creating an importer, you may have to experiment with it... A LOT

If you have lots of columns, and you don't have a successful import, it can be easier to just add a couple of columns and then experiment to get the full import working.
Skip hash check basically means if a node exists update the node even if the content hasn't changed. I can't think of a reason why I would want to... other than for speed.

Text format
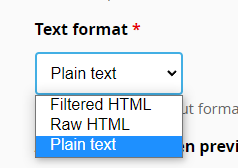
I normally set this to Raw... If your text has HTML elements it may strip them out if they are not allowed in "Text formats"

If you have a regular import, and the data changed, for example, a price list where products are no longer available, then you can use this to delete or unpublish then... for me, Skip non-existent nodes is what we need.
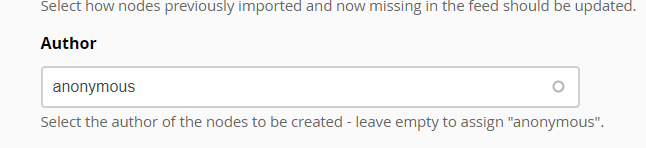
For the Author option, if you want to show who created the content, for example an "editor" you may want to create a user for that role... in my case, I'll just change it to my user name.
The next section "Authorize" we can uncheck it because we know what information is being imported, it will make the import process a little bit faster.

Expire nodes...
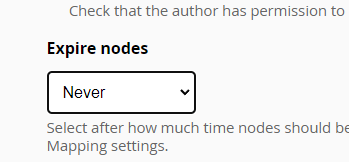

For us, it's a "Never"
Click save...
This is where the fun really begins... Let's click on Mappings.
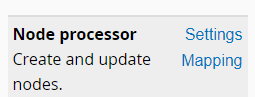
We now need to start mapping our import data with the node fields.
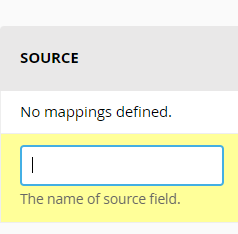
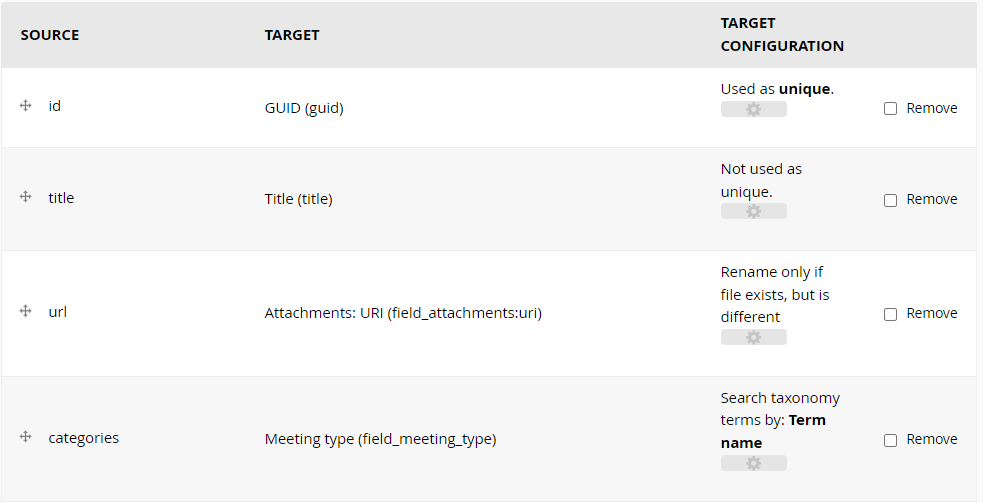
Let's start with ID, now this is in the import file and we won't need this after the import, but we will be using this as a unique ID for the imported content. If we don't and there are nodes with the same title, it will overwrite that node. So, lets choose GUID.
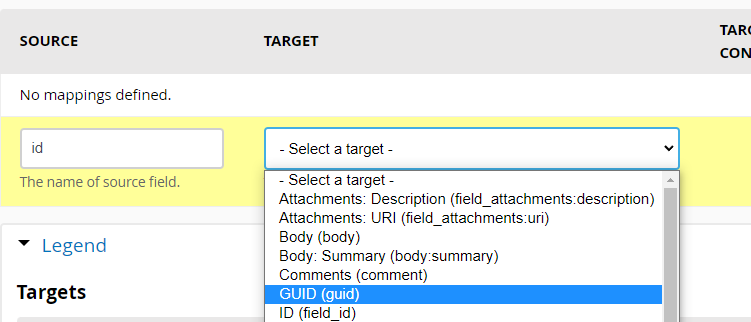
When you click "save, we can then configure the rest of this field.

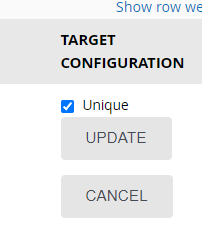
Because the ID field is the unique identifier, we need to click on the cog to change its settings to Unique... tick the box and click on "Update"
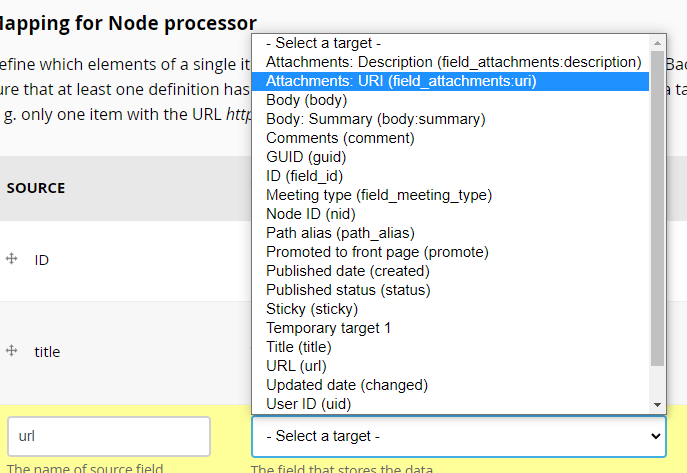
I've added the title, in the same way as the ID, but we don't want this unique.
For the PDF attachment, we will choose URI... this will mean the import will go to the URI and download from the existing website. There are ways to bulk upload files/images/documents content and then attachment to nodes and we'll cover that in another tutorial.
Once we save the file, we then get options of what to do if the file already exists...

If we click on the cog, we can see the options... there's some pretty good help text on the screen so I won't cover it here.
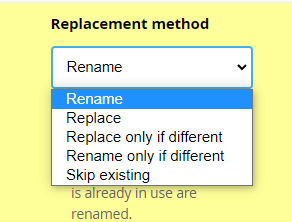
I've chosen "Rename only if different". When files are normally stored in WordPress they are in individual year/month folders so we may have duplicate files names, hence I want to rename the file if the content is different.

and the last one for us is the "Categories" Taxonomy Term... "Meeting type".
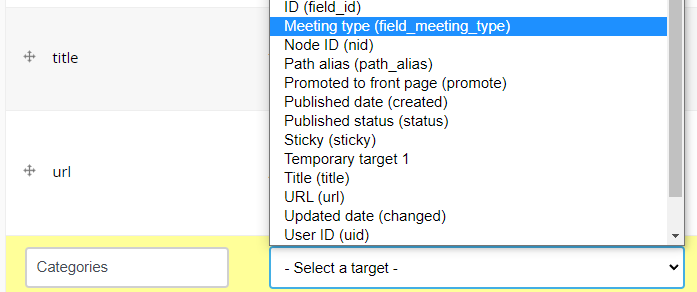
Once saved, we get access to more options

Click on the Cog
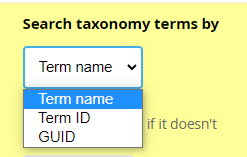
For us, we want to match the Terms by Term Name. If you are exporting from Drupal 7 and the Taxonomy is complex, you would want to use the Term ID or the GUID to make sure they are matched properly. Ours is a simple Taxonomy so Term Name is more than adequate.
And to save us from having to do a separate taxonomy Import, we can Auto-create the terms if they don't exist.

Click update and we're nearly done.
Now, if our Taxonomy Term has multiple categories then we need to "Explode" our term...
I've just looked through our Import file and found one that has been added to two categories... Minutes and Uncategorised.
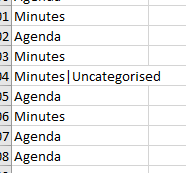
I'm fairly certain that we don't need the "Uncategorised" one and could safely delete that text, but then you wouldn't know how to Explode Taxonomy Terms when importing data.
At the top of our Feeds Importer screen, we have a few Tabs...
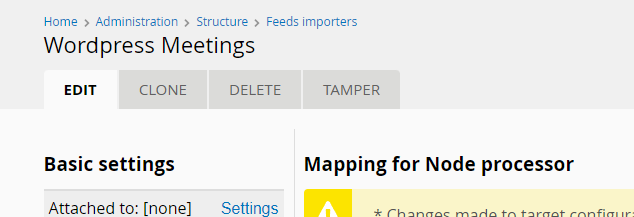
To manipulate information as it's being imported, we need to Tamper with it...
Let's click on "Tamper"
It looks like this...

For each of our fields we want to import we can tamper with them... So you could correct the capitalisation of the Title field for example...
But for us, all we need to do is Explode our URL and Taxonomy Term.
Under "Meeting type" click on "Add plugin"

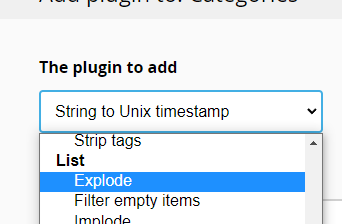
There are lots of plugins available, I would suggest having a look through. I will go through some of them in other tutorials, but for this one, we want to "Explode" something...
We want to explode a list into individual items.
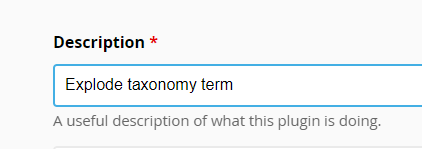
We need to give it a unique description so you may as well make it descriptive... Just in case you need to "explode" more items, you'll know which is which.
We now need to tell the Plugin what character to use to split our list.
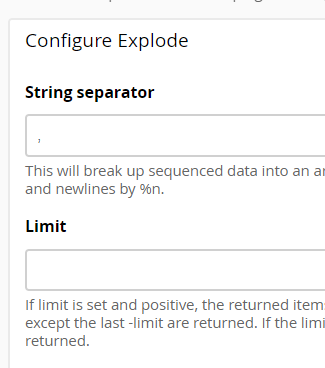
In our case, it's a vertical line.
We don't need to set a limit.
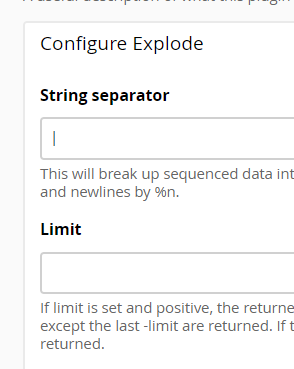
Click "add" and then "save". Of course, we can chop and change them as needed and for complex imports, you will need to.
Well, that's our Feeds Importer configured... fingers crossed.
Now we need to create our Tab separated CSV file from our Excel spreadsheet.
Well... after closer inspection of our Excel file, it looks like the URL file attachment may have multiple attachments... so we'll need to Explode that as well...

Don't forget to "save" just to be sure.
So, our Excel spreadsheet looks like this...
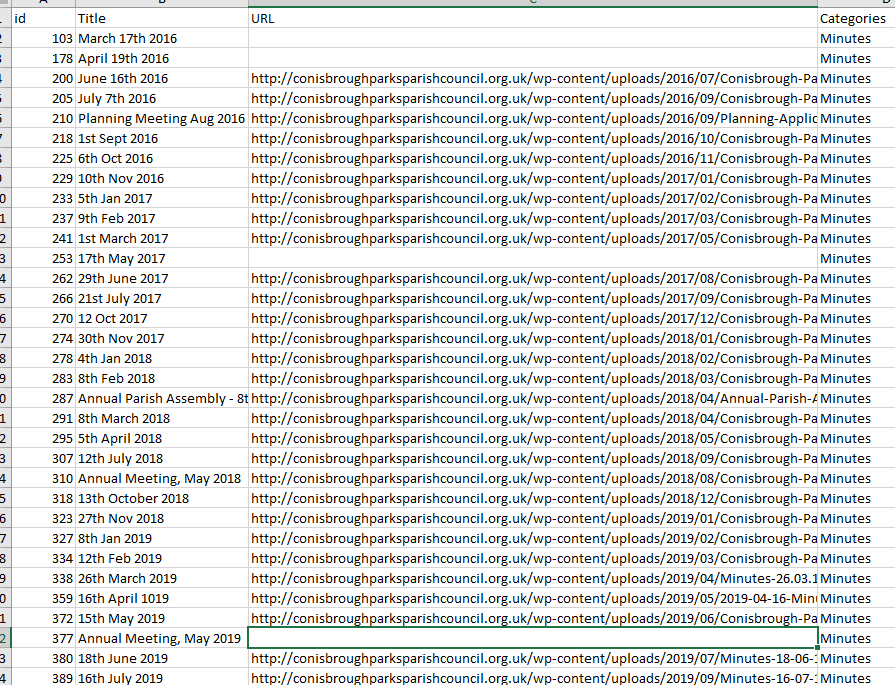
and as you can see, some of the URL attachments are missing... I'll sort those out later, modifying the odd node later is normal and if there's only a few, it's not worth the time and effort to investigate at this stage.
In Excel, we want to export the data, and change the file type to a Tab-delimited text file. Of course, your version of Excel may be different.
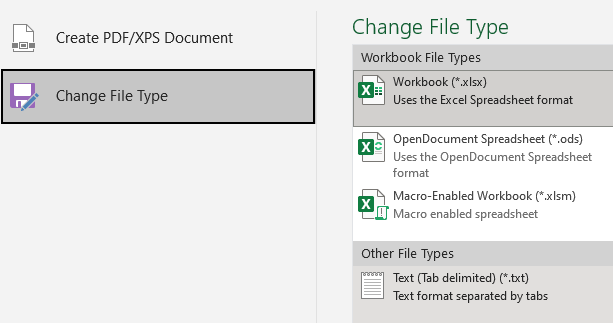
We've now got a file saved on our local computer with our exported data, which looks something like this...

Now the fun really begins... Let's import our data or at least, try to import our data.

Hover over "Content" on the Admin menu bar, hover over Feeds Import and click on your importer... in my case it's "WordPress Meetings".
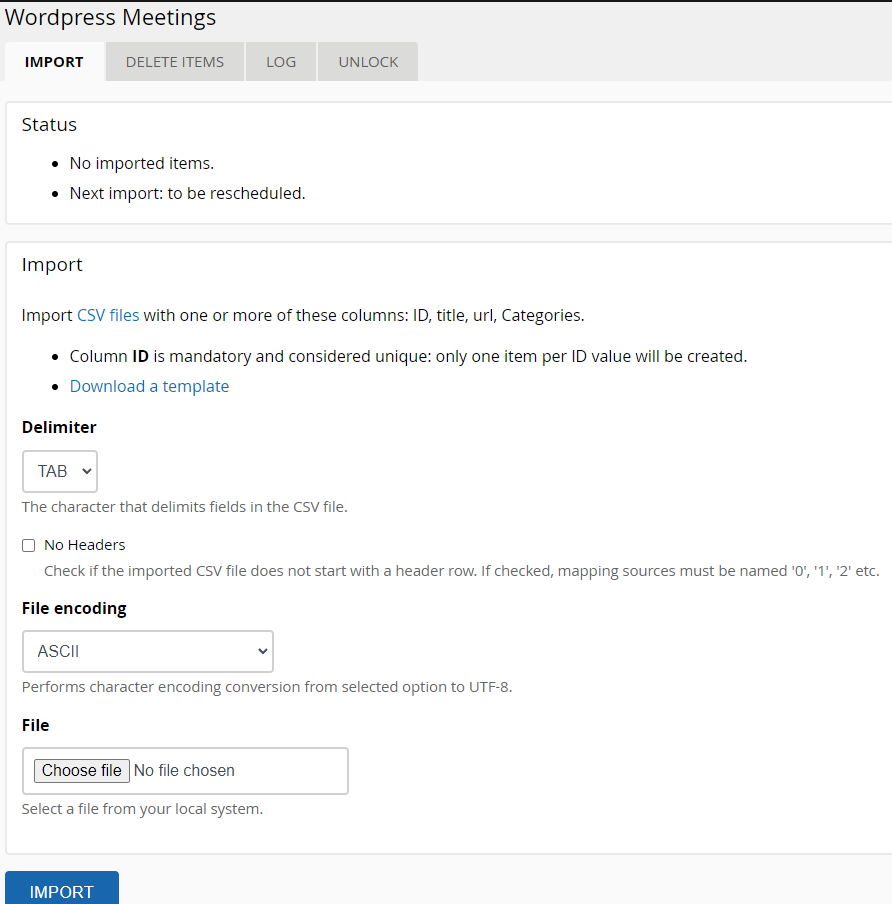
It's a fairly simple process from here... if things go well and the only thing we should (fingers crossed) need to do is upload our file.
Click on "Choose file" near the bottom, add your file, hold your breath and click Import.
We'll get a progress bar...

If there are any problems, you will see an error message here... In our case... No errors.
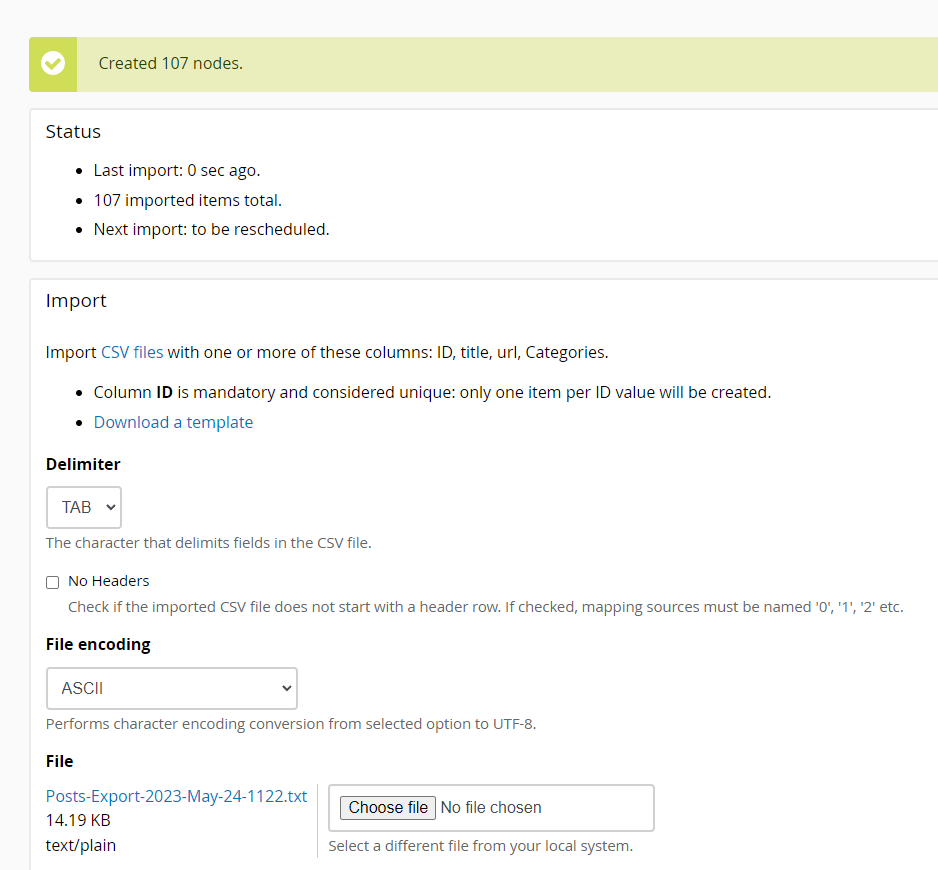
It looks like it went well... but, if yours fails for what ever reason, you may need to experiment and change a few settings... and you may need to delete the imported data... this is normal... and it happens a lot on complicated imports, especially if you need to experiment.
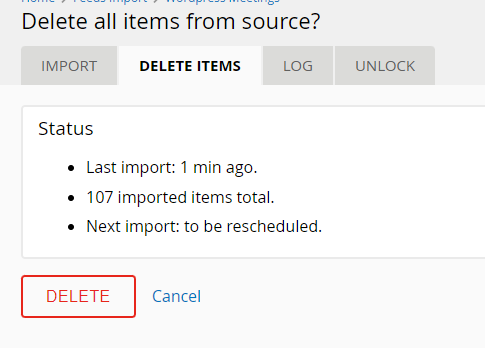
But it's easy to undo the import, simply click the Delete Items tab at the top and click the Delete button... You will get the usual "are you sure" warnings...
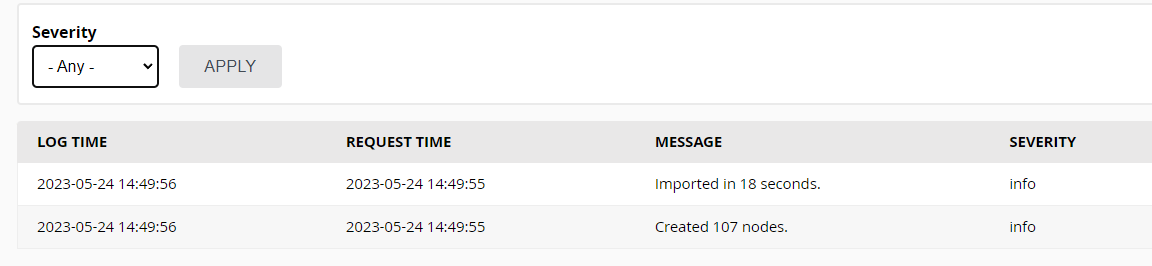
We've also got the Log file we can interrogate if needed.
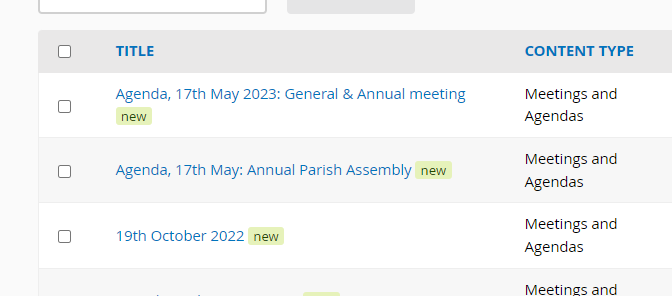
So, let's examine our nodes and see how successful our Import actually was.
It actually looks pretty good...
Apart from that, when I noticed that there may be multiple attachments to a node, I forgot to change the number of attachments from one to unlimited.
But, the beauty of our import, and the way we've set it up, is that we can just run it again and see what happens.